
Shingle roof replacement is a substantial home improvement project that, when done correctly, can bolster your home’s protection and curb appeal. So, where should you start? Fear not, because this step-by-step guide will walk you through the entire process, from assessing the condition of your roof to the final finishing touches. With the right tools and materials in hand, you’ll be well on your way to a sturdy and reliable roof that will protect your home for years to come.
While this blog post aims to provide you with a comprehensive step-by-step guide for a DIY approach to replacing a shingle roof, we want to emphasize that professional roof replacement is typically the most reliable and safest choice. Roofing is a specialized skill that demands a level of expertise, experience, and precision that many homeowners may not possess.

1. Assess Your Roof’s Present Condition
Assess the condition of your roof by inspecting it for signs of damage or wear.
- Start by looking for any missing or cracked shingles. These can be an indication that your shingles either need repair, or a complete roof replacement.
- Check for any loose or sagging areas, as these may need immediate attention.
- Pay attention to the condition of the flashing around chimneys, vents, and skylights. Damaged or deteriorating flashing can lead to water seepage and cause further damage.
- Look for any signs of moss or algae growth, as this can indicate moisture retention and potential roof decay.
- Finally, examine the gutters for any granules from the shingles, as excessive granule loss can be a sign of aging shingles and the potential need for replacement.
- Regularly assessing your roof’s condition will help you catch any issues early and prevent further damage.
2. Tools and Materials You Need
Before you begin replacing your shingle roof, make sure you have gathered all the necessary tools and materials. This step is crucial to ensure a smooth and efficient roof replacement process.
The tools you’ll need include
- A roofing hammer
- Pry bar
- Roofing knife
- Measuring tape
- Chalk line
- Ladder
- And safety equipment such as gloves and goggles
Additionally, you’ll need to have the right materials on hand, such as the proper replacement shingles, underlayment, roofing nails, and flashing. It’s important to carefully measure and calculate the amount of materials needed to avoid any shortages.
You can consult with a roofing professional or refer to the manufacturer’s guidelines for accurate measurements.
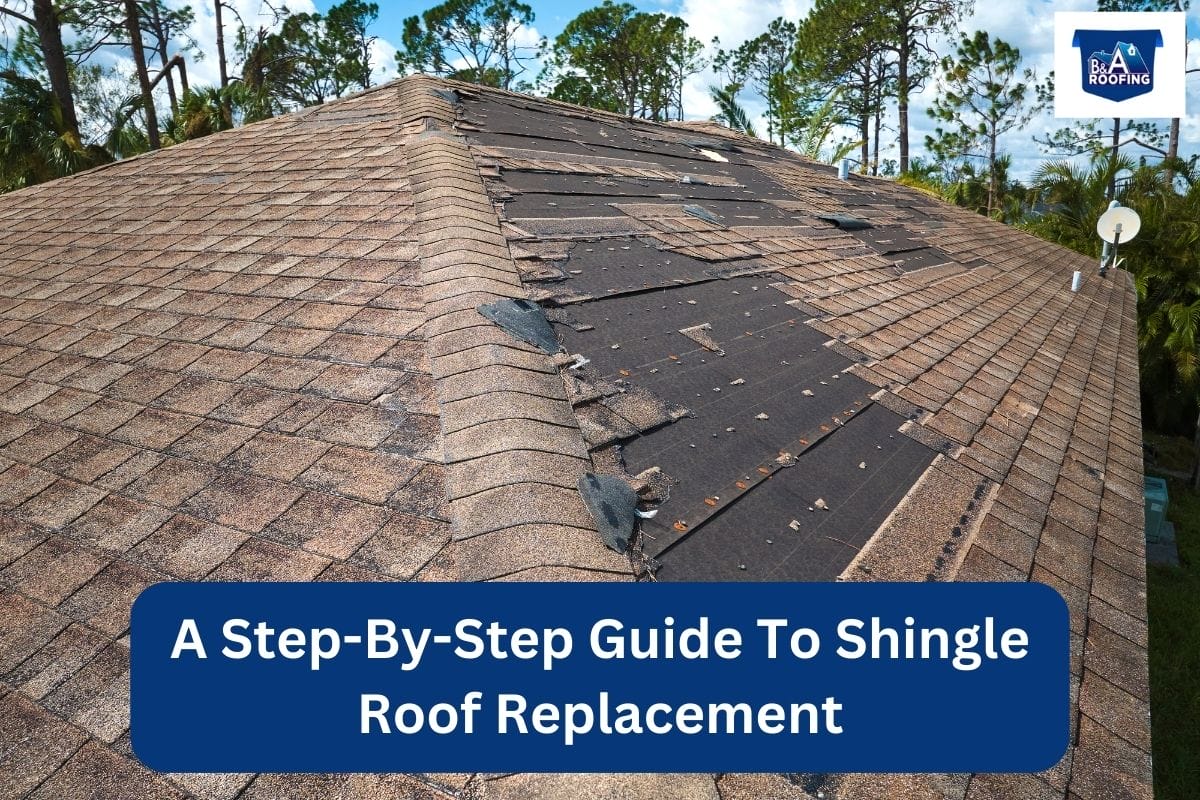
3. Remove the Old Roofing Shingles
To begin removing the old shingles, gather your tools and ensure you have a safe and stable ladder. This step is crucial for a successful shingle roof replacement.
- Grab a sturdy hammer, a flat pry bar, and a roofing shovel. These tools will help you effectively remove the old shingles.
- Start by carefully prying up the shingles with your flat pry bar, making sure not to damage the underlying layers. Once you have loosened the shingles, use your roofing shovel to lift and remove them completely.
- Be cautious of any nails that may be sticking out, and remove them as you go. Remember to work from the top of the roof all the way down to the eaves.
4. Install the New Shingles
Once all the old, damaged material is removed, it’s time to put on the new shingles and make your roof more durable.
- If the old underlayment was removed, start by laying down a new layer, such as felt paper, to provide an extra layer of protection against moisture.
- Secure the underlayment with roofing nails, making sure to overlap each layer by a few inches.
- Next, begin installing the shingles, starting from the bottom edge of the roof and working your way up. Each shingle should overlap the one below it, and following the manufacturer’s instructions at this stage is important for the specific type of shingle you’re using.
- Secure the shingles with roofing nails, placing them in the designated spots on each shingle.
- Repeat this process until the entire roof is covered with new shingles.
5. Finishing Touches and Clean-Up
After successfully installing the new shingles, it’s important to focus on the finishing touches and clean-up to ensure a polished and tidy final result.
- Start by inspecting the roof for any loose nails or debris that may have been left behind during the installation process. Use a ladder and a magnet to pick up any stray nails or metal fragments.
- Next, take a broom or leaf blower to remove any loose shingle granules and dirt from the roof surface. Make sure also to clean out the gutters and downspouts to prevent any clogs.
- Finally, give the entire roof a thorough visual inspection to ensure that everything looks neat, is in place, and that there are no gaps between layers.
Do You Need To Replace The Roof Deck Before A Shingle Roof Replacement?
In many cases, if the existing roof deck is in good condition, it may not be necessary to replace it during a shingle roof replacement. However, if any of the following signs are present, it’s advisable to address the decking issues before installing new shingles.
Moisture Damage: Water damage is a common culprit for compromised decking. If there are signs of water stains, rot, or mold on the underside of the roof, it’s an indicator that moisture-related damage has occurred.
Sagging or Uneven Surface: A sagging or uneven roof may suggest structural problems with the decking. This can affect the proper installation of shingles and compromise the overall integrity of the roof.
Visible Gaps or Holes: Inspect the decking for visible gaps or holes. These openings can allow water to penetrate through, leading to further damage to the roofing structure and the interior of your home.
Conclusion
By assessing the condition of your roof, gathering the necessary tools and materials, removing the old shingles, and installing the new ones, you can ensure a successful replacement. But remember, as stated earlier in this article, getting professional help is the best choice you could make.
Hire Professional Roofers In Southern Mississippi For Your Roof Replacement
If you are considering replacing your roof or installing a new one, you might be considering doing it on your own. Despite the fact that homeowners can perform a shingle roof replacement, expert roofers don’t recommend this practice. A shingle roof replacement is an extensive job that requires skills, expertise, and experience.
B&A Roofing is one of the leading roofing companies in Southern Mississippi, known for its expert and skilled roofing services, provided to both home and business owners. The roofers at the company are proficient at handling any roofing task, whether it’s a complete roof replacement or a new roof installation. Contact us today at (601) 520-3183 and consult with one of our experts.
Frequently Asked Questions
A. Shingle roof replacement costs can vary depending on various factors, such as the size of your roof, the quality of materials, and the complexity of the installation process.
A. You should remove the existing shingles before installing new ones. Installing new shingles over old ones can lead to issues like an uneven surface and reduced lifespan of the new shingles.
A. Replacing a shingle roof typically takes a few days, depending on the size of your roof and the complexity of the job. It’s best to consult with a professional roofing contractor for an accurate estimate.
A. If you have experience and the necessary tools, you can do a shingle roof replacement yourself. However, hiring a professional contractor is recommended to ensure proper installation and avoid potential mistakes or accidents.
A. If you notice curling or missing shingles, leaks, or excessive granule loss, it’s time for a shingle roof replacement. Don’t wait until the damage worsens, hire a professional contractor to ensure a proper installation.