One of the most important, but often disregarded, parts of a building’s design is roof ventilation. Deciding whether you need an air gap between the roof and insulation isn’t just a simple question — it can affect your home’s durability, energy efficiency, and overall condition.
Why Does It Matter If You Have An Air Gap Between The Insulation And The Roof?
That area that’s created between the roof and its layer of insulation is called an air gap, which promotes airflow to reduce moisture levels and increase thermal efficiency. It helps control heat transfer as well, preventing heat from escaping in the summer and maintaining warmth within the home in the winter.
Although some insulation materials, such as spray foam, may not require it, a 2-inch ventilation gap is often advised for pitched roofs. In combination with insulation, this gap improves moisture control and energy efficiency, increasing the effectiveness of the roofing system.
The Importance Of Having An Air Gap:
1. Moisture Control
Air gaps allow trapped moisture to escape, preventing mold, corrosion, and decay. By preventing condensation the roofing materials stay dry and their lifespan is extended.
2. Thermal Insulation
By acting as a barrier, trapped air slows heat transfer, keeping interiors cooler in summer and warmer in winter. This improves energy efficiency and lowers heating and cooling costs.
3. Ventilation & Airflow
Better air circulation prevents stale, humid air from building up, reducing the risk of mold, odors, and excess moisture inside the building.
4. Structural Protection
Air gaps help redirect water away from inner layers, preventing damage like efflorescence and material decay. This adds durability and longevity to the structure.
5. Energy Efficiency
With reduced heat transfer, buildings require less energy for heating and cooling, leading to lower utility bills and a smaller carbon footprint.
6. Longer Roof Lifespan
Proper airflow helps prevent ice dams in winter and overheating in summer, reducing wear and tear on roofing materials and extending their lifespan.
8. Better Indoor Comfort
By maintaining stable temperatures and humidity levels, air gaps eliminate hot and cold spots, ensuring a comfortable and healthier indoor environment year-round.
What Happens If You Don’t Have A Proper Gap Between The Roof And Insulation?
Let’s check out what could go wrong if there’s no proper gap between your roof and insulation:
Mold & Mildew Growth
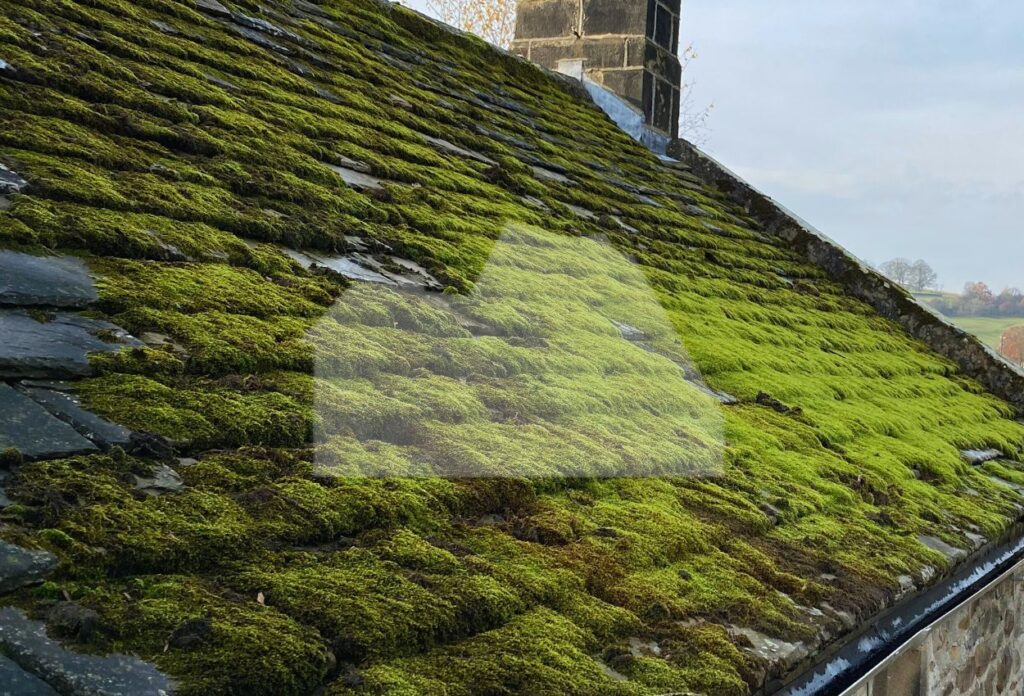
Trapped moisture creates the perfect environment for mold and mildew, leading to poor air quality and potential health risks.
Structural Damage
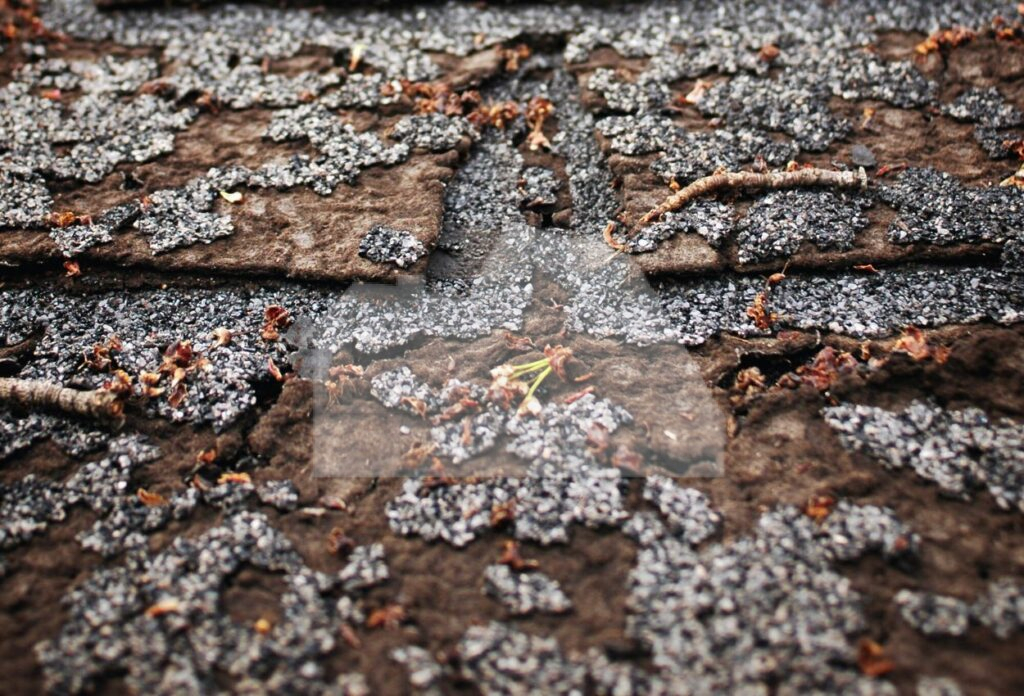
Extreme changes in temperature can cause materials to expand and contract, leading to cracks, roof deterioration, and expensive repairs.
Ice Dams
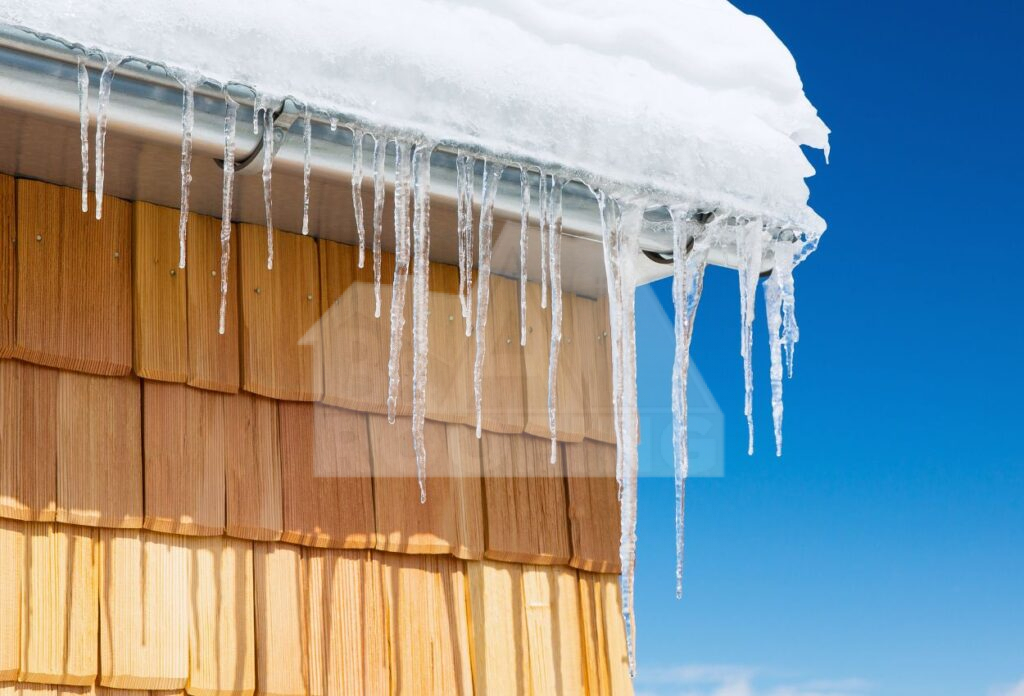
In colder climates, having the wrong type of insulation can cause ice dams, preventing proper drainage and leading to leaks and water damage.
Cold Spots & Condensation
Uneven insulation creates cold spots, leading to condensation buildup and moisture-related problems over time.
Increased Humidity
Lack of airflow allows humidity levels to rise, which can damage furniture, walls, and other building materials.
Roofing Material Deterioration
Excess heat buildup accelerates wear and tear on roofing materials, shortening their lifespan and leading to premature replacement.
Fire Risk
Trapped heat, especially in attics with flammable materials, can increase the risk of fire hazards.
HVAC Strain
Poor insulation forces heating and cooling systems to work harder, leading to increased energy consumption and potential system failures.
Noise Issues
Insufficient gaps in insulation allow more noise to pass through, reducing indoor soundproofing and comfort.
How To Create An Air Gap
Let’s break down the steps to create an air gap between your roof and insulation:
Step 1: Measure the Gaps
Start by measuring the gaps within your roofing structure already using a tape measure. This ensures you cut the insulation boards accurately. Document each measurement to avoid errors during installation.
Step 2: Determine the Right Size For Your Air Gap
For most roofs, a 2-inch (50mm) air gap is ideal to allow ventilation and moisture control.
Step 3: Install Timber Battens
Choose 50mm timber battens to maintain this space and improve airflow. Secure them to the roof joists using a screwdriver or nail gun and ensure they are evenly spaced and aligned to provide consistent support for the insulation boards.
Step 4: Cut the Insulation Boards
Measure and cut the insulation boards to fit snugly between the battens. Use a utility knife and a straightedge ruler for precision. Always wear gloves, safety goggles, and a mask to protect yourself from insulation fibers.
Step 5: Install the Insulation Boards
Position the insulation boards against the battens while ensuring the air gap remains intact. If necessary, apply a small amount of sealant on the back of the boards to hold them in place securely.
Step 6: Add a Vapor Control Layer (If Needed)
Some insulation boards include a built-in vapor barrier. If yours does not, install one separately using a staple gun. Overlap the sheets to ensure complete coverage and prevent moisture buildup.
Step 7: Final Inspection
Check that all insulation boards are properly installed and that the air gap is consistently maintained. Look for any compressed areas or gaps, as these can reduce the insulation’s effectiveness.
Maintenance Tips
To keep your roof and insulation in top shape, let’s go over some maintenance tips to follow:
1. Inspect the Roof and Insulation Regularly

Check for damage, mold, or moisture buildup at least once a year. Address any issues early to maintain the air gap’s effectiveness.
2. Ensure Proper Ventilation
Keep ridge vents and soffit vents clear of obstructions to allow continuous airflow and prevent moisture accumulation.
3. Maintain the Correct Air Gap Size
Ensure the air gap remains at 2 inches (50mm) to support proper ventilation and prevent insulation from blocking airflow.
4. Use Insulation Spacers
Install battens to keep insulation from pressing against the roof deck, ensuring the air gap stays intact.
5. Seal Cracks and Gaps
Inspect for any small openings in the roofing material or insulation and seal them to prevent air leaks that could reduce insulation efficiency.
8. Install Baffles for Ventilation
Baffles prevent insulation from blocking soffit vents, ensuring steady airflow through the attic.
9. Schedule Professional Inspections
Have a roofing expert inspect your insulation and air gaps periodically, especially if you have a complex roof system.
11. Ensure Even Insulation Coverage
Make sure insulation is evenly distributed and at the proper thickness to maintain thermal efficiency while keeping the air gap intact.
12. Consider Adding a Vapor Barrier
If you live in a humid area, a vapor barrier can help prevent moisture from seeping into insulation and reducing its effectiveness.
Secure Your Home with B & A Roofing and Gutters!
Keep your home protected with our team of experts at B & A Roofing and Gutters. From installations and repairs to inspections, maintenance, insulation, and ventilation, we handle it all with our quality roofing services. Our skilled team uses high-quality materials and proven techniques to ensure a durable, well-insulated, and leak-free roof with proper ventilation that lasts. Contact us today at (601) 520-3183!
FAQs
Is it possible to add an air gap to an existing roof?
Yes, you can add an air gap to an existing roof to improve ventilation and insulation. This can be done by installing battens as suggested above.
Can too much air gap reduce insulation efficiency?
Yes, a large gap can cause excessive airflow, reducing the effectiveness of materials like fiberglass and mineral wool.
